
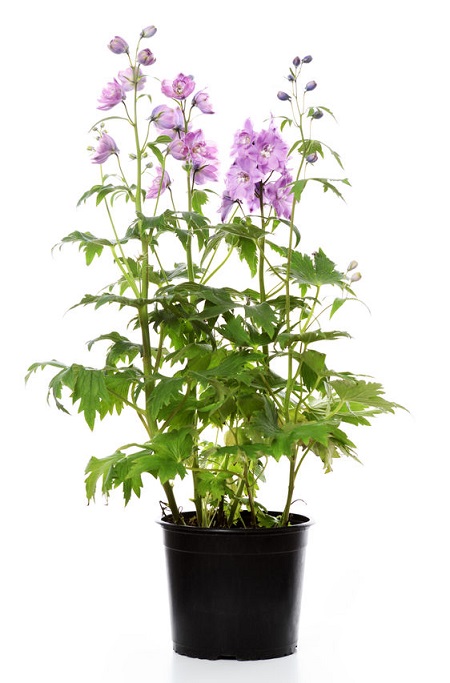
How Do I Propagate Delphinium?
Delphinium can be propagated through seeds, division, and cutting. Seed is likely the easiest method to obtain new, healthy planting with the least effort.
Propagating Delphinium Through Seed
Most plants do best if fresh, new seed is purchased and planted as saved seed can carry disease and other issues.
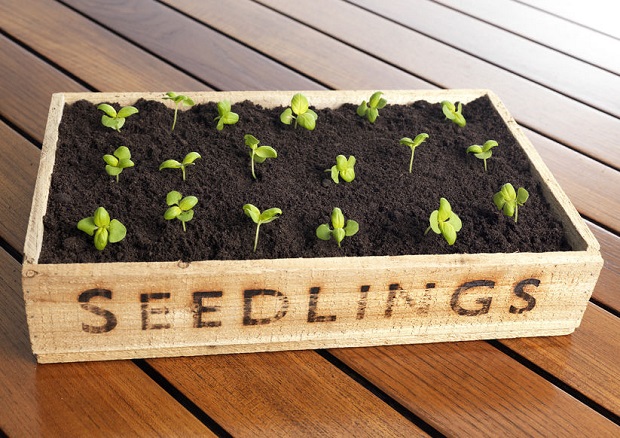
Plant seeds in starter trays with bottom drainage using well-aerated soil to ensure that the seeds can respire.
Water thoroughly and cover the tray with clear plastic wrap. The seeds will require a soil temperature of 65-75°F to germinate, so place them in surroundings that will encourage this.
Remove plastic wrap when shoots begin to emerge in 2-3 weeks. Place in a shady location.
Plant outdoors after the threat of last spring’s frost has passed.
Propagating Delphinium Through Division
Though it is possible to propagate delphiniums through division, be aware before attempting it that it is one of the few perennials that does not fare well when divided. Be sure to divide early enough in the season that the roots will have time to establish and strengthen before frost hits.
Prepare the new planting site for the Delphinium transplant prior to digging up and dividing. Planting immediately will help to ensure that the roots will not dry out or become stressed.
Dig carefully around the base of the plant with a garden fork, trying to disrupt as few of the roots as possible. Carefully pull the entire plant from the ground with as many of the roots intact as possible.
Prune the foliage around the base of the plant and remove any diseased or wilted portions of the plant.
Cut or break your plant apart, ensuring each section contains at least three young shoots.
Replant immediately. Keep the new plantings evenly moist to ease the stress of replanting.
Propagating Delphinium Through Cutting
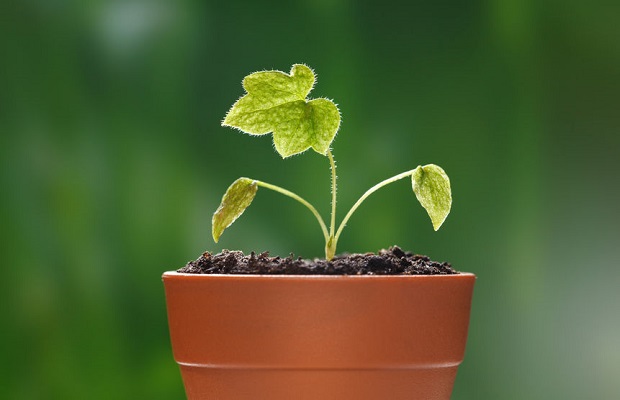
Healthy delphiniums can be propagated through cuttings.
Cut a 3-4″ section from a healthy portion of the plant. Use a sharp, clean knife to avoid injuring the plant or the cutting.
Assess the viability of the cutting by inspecting the cut end to ensure that the center is white and alive. If the cutting is hollow, discard it and choose another.
Dip the freshly cut end of the new cutting in a rooting hormone or stimulant.
Plant the cutting in perlite or sand in starter trays. Place one cutting per tray division.
Remove any foliage that will be below the soil line. Leave all other foliage intact.
Water generously and cover the flat with clear plastic wrap to encourage consistent soil moisture and temperature.
Place in a shady location.
Check to see when the cutting begins to take root by gently pulling on the cutting. When you feel resistance, rooting has begun. Cut holes in the plastic wrap to increase airflow and help harden off the cuttings.
Resources
“Perennials: Culture, Maintenance and Propagation – Virginia Cooperative Extension.” Publications and Educational Resources – Virginia Cooperative Extension. N.p., n.d. Web. 10 Apr. 2011. <http://pubs.ext.vt.edu/426/426-203/426-203.html>.
Babcock, Deb. “http://rcextension.colostate.edu/Hort/MG%20articles/2007/dividing_perennials.pdf.” Colorado State University Extension. N.p., n.d. Web. 10 Apr. 2011. <The Great Divide: Propagating Perennials Thrhttp://rcextension.colostate.edu/Hort/MG%20articles/2007/dividing_perennials.pdf>.